The Latest
Filter by Topic
Filter by Type
CI Veteran Doug Greenwald to Start Podcast on Running an Integration Business
The Integrator Playbook will focus on practical education and discussion delivered from the perspective of an active operator…
News June 8
CEDIA Mourns Passing of Ponch Wildman
CEDIA and the custom integration community are mourning the passing of TruMedia co-owner Ponch Wildman, husband of CEDIA…
News June 8
Lighting and Shading Are the Darlings of the CI Channel. Do They Have Any Downside?
Dealers dish on how lighting a shading fit into their business from talking profit margins, upsell opportunities, and…
News June 8
Lutron on the Future of Luxury Shading, Drapery & Smart Home Design
Lutron’s Sheng Qu previews new drapery solutions and fabric offerings while discussing growing demand for automated shading in luxury homes.
June 4
The Week in Playback: ZION’s NA Debut, LG Rumors
Peel back the noise of the news week with a relaxing spin through some of custom integration's biggest…
News June 7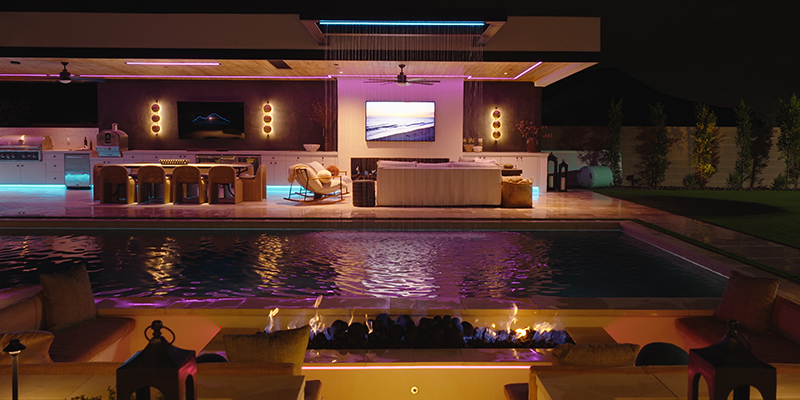
Creating a Backyard Oasis with PureEdge Lighting
Utilizing a variety of PureEdge TruColor™ RGBTW architectural lighting systems, Technology Integrator Chase Goodman, owner of Cactus Sight…
Sponsored June 5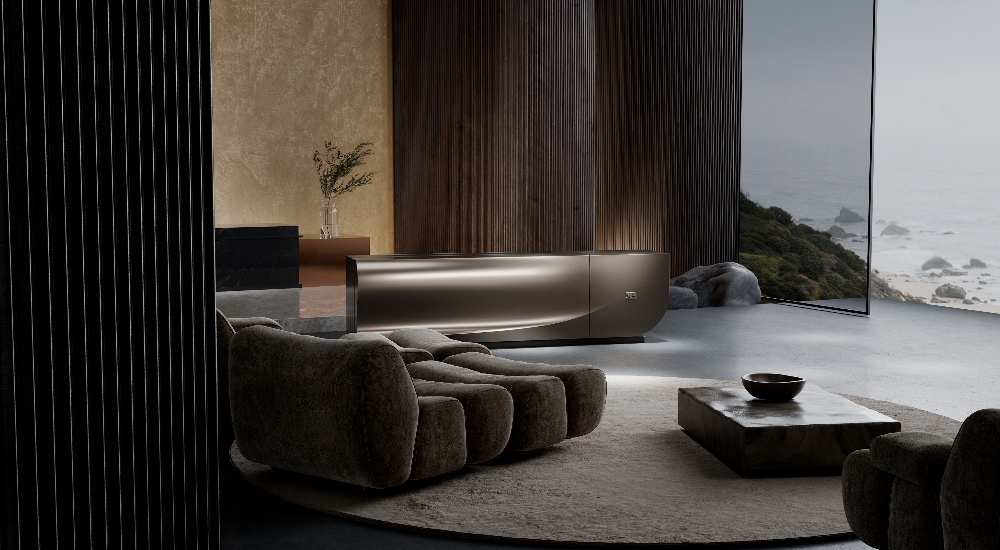
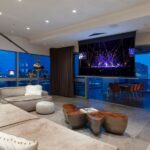
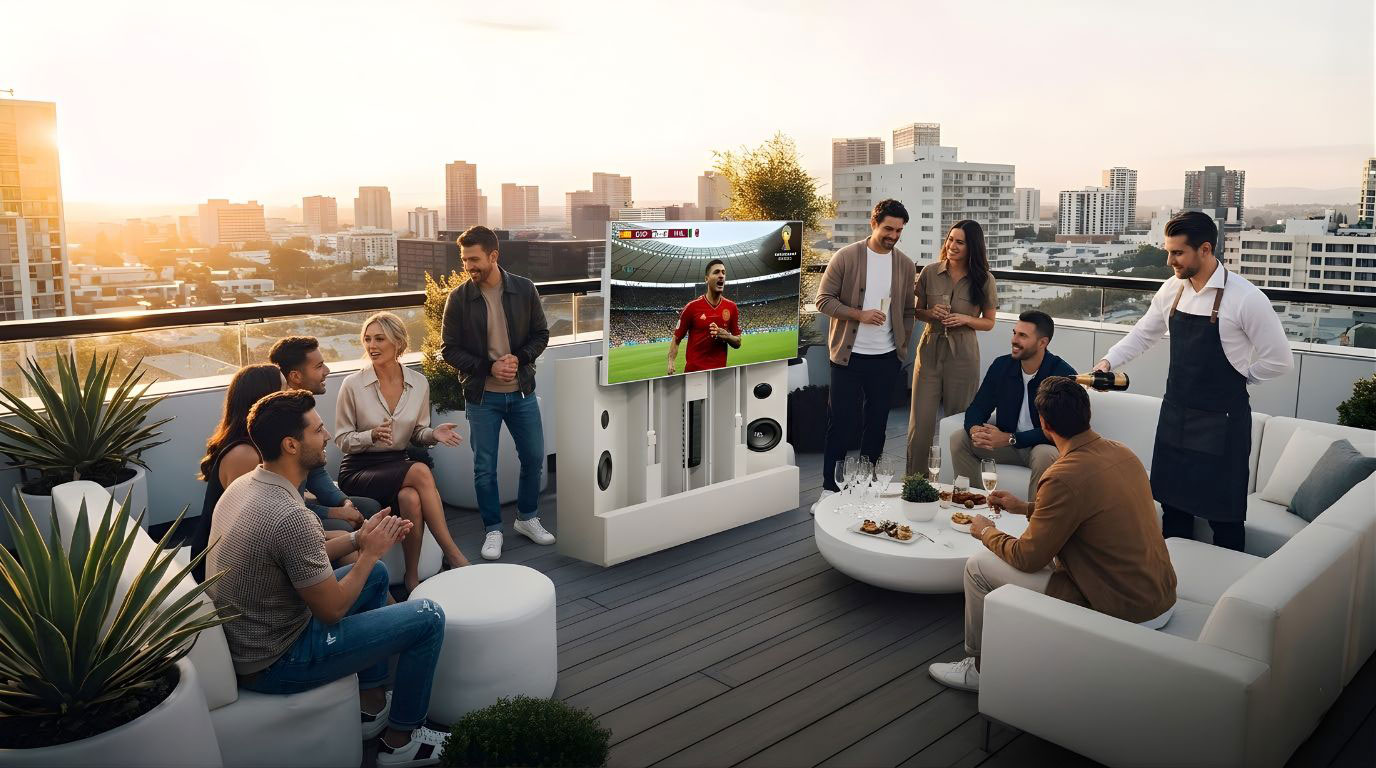
C SEED’s Latest N1 Model Puts the Luxury of a Bugatti into a microLED TV
Working off the same technology as the original N1 folding TV, the new BUGATTI N1 brings in the…
News June 4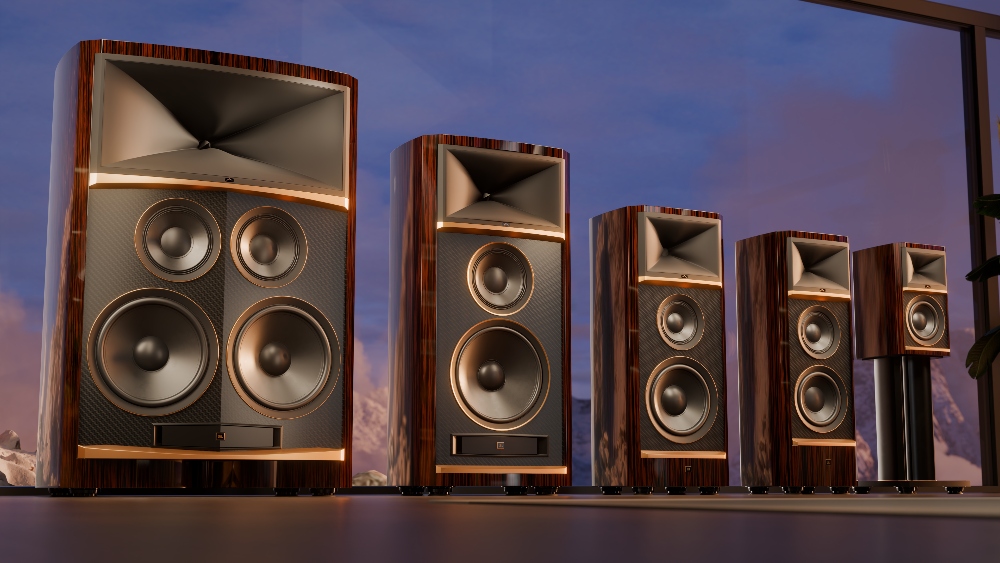
JBL Closes Out Summit Loudspeaker Series with Flagship Everest and K2 Models
Being the fifth series to carry the “Project” moniker since JBL’s inception, the Summit Series represents the brand’s…
News June 4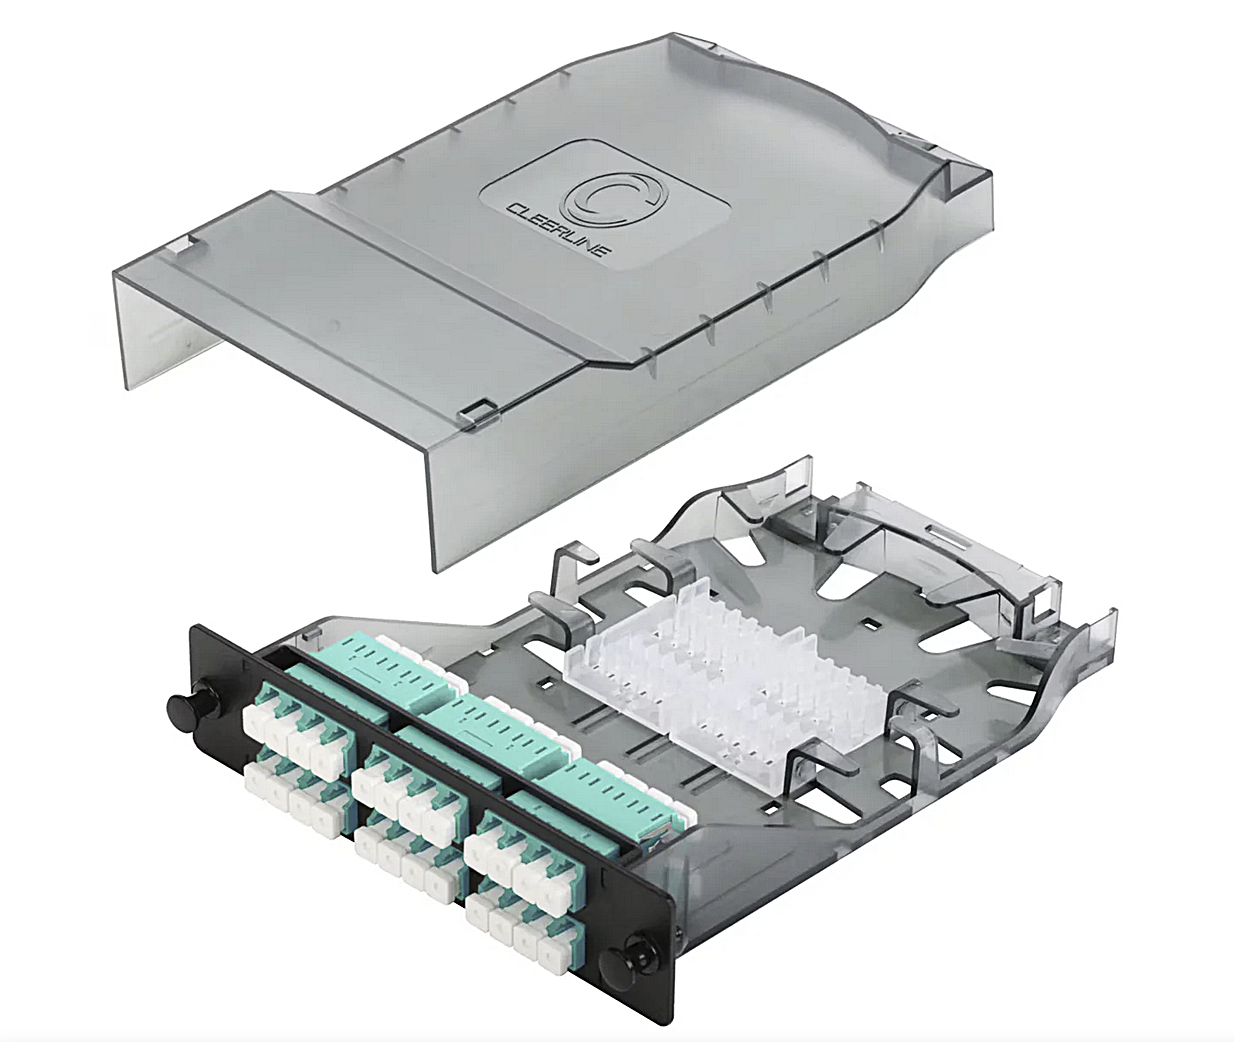
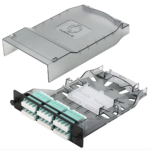
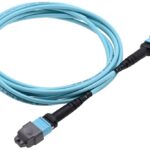
Cleerline HD Splice Cassettes for LGX Fiber
The Cleerline Technology Group has introduced a series of LGX-compatible fiber splice cassettes engineered to efficiently manage fusion-spliced…
Products June 4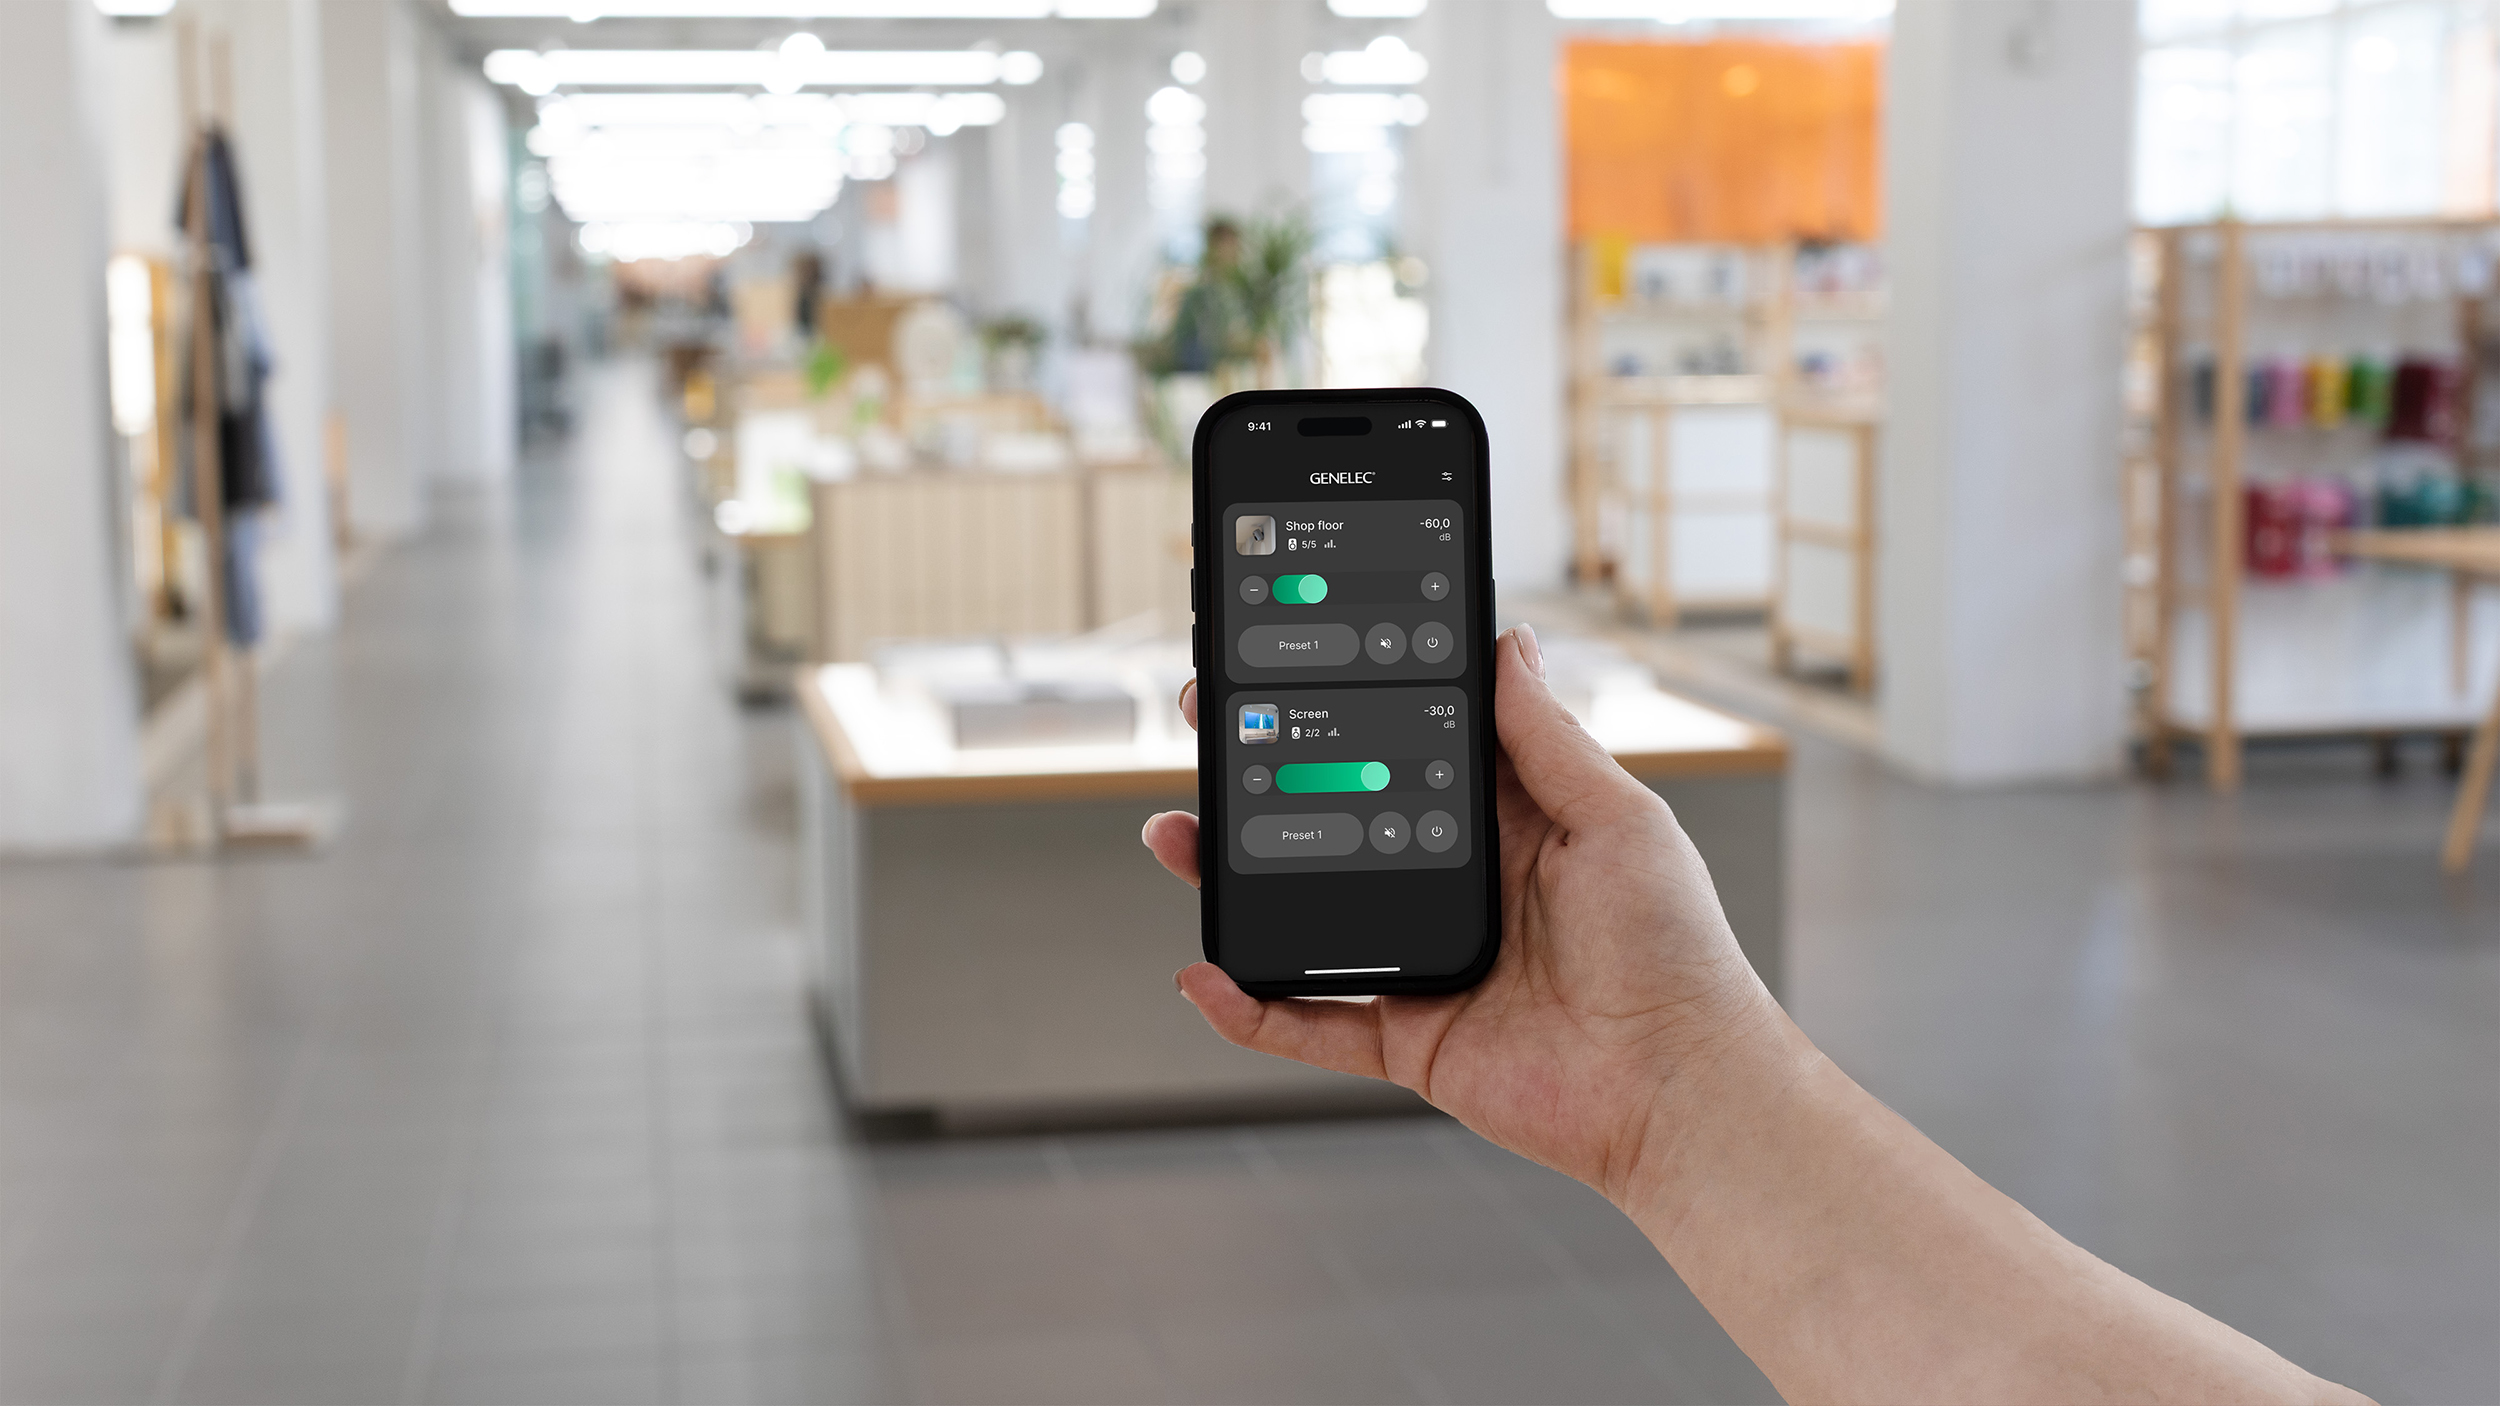
Genelec Launches Smart IP Controller 2.0 App for Loudspeakers
The latest app introduces a completely revamped user interface that aims to simplify control of smaller scale installations.
Briefs June 4Spotlight on Brand Leaders


CE Pro Brand Leaders Spotlight Sponsors

Latest Products